Mastering Hollow Knight: Unveiling Powerful Charm Combinations for Every Playstyle
Aug-27-2024
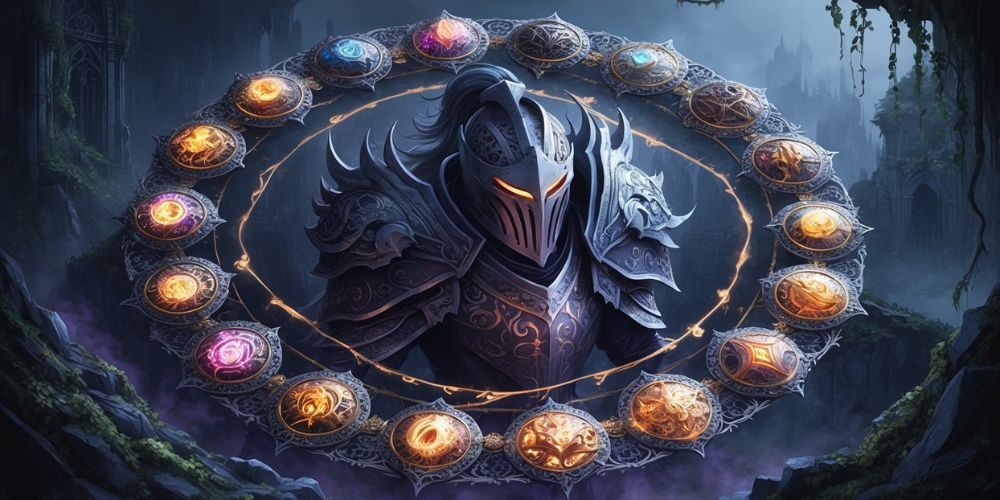
Mastering Hollow Knight, a standout in the genre of challenging Metroidvania games, involves more than quick reflexes and an intrepid spirit. It's a game of fine detail, where every exploration of Hallownest unearths deeper connections and powerful ways to customize your journey. Among the pivotal tools for personalizing your playstyle is Charms, unique items that bestow significant upgrades and abilities upon 'the Knight'. Given the numerous combinations of charms, it is useful to familiarize yourself with the synergistic benefits that can turn the tables in your favor.
The Versatility of Charms
Hollow Knight presents its players with an immense map brimming with enemies, bosses, and secrets. Players must tactically equip Charms to face the hostilities of Hallownest effectively. Starting with only three Charm Notches, the Knight can equip additional Charms as they acquire more Notches scattered throughout the game. These Charms can amplify combat abilities, and defensive capabilities or even help in navigation. One of the first things a player should prioritize is collecting more Charm Notches. They can be purchased from Salubra, an NPC in the Forgotten Crossroads, or found hidden across the map. Some notable locations and requirements include:
- Forgotten Crossroads Purchases:
- Collect 5 Charms to unlock
- Collect 10 Charms to unlock
- Collect 18 Charms to unlock
- Collect 25 Charms to unlock
_____________________________________________________________
- Finding Notches:
- Fungal Wastes: Dropped by Shrumal Ogres
- Fog Canyon: Explore a precarious path of exploding eggs and jellyfish
- Colosseum of Fools: Complete the Trial of the Warrior
- Defeating Grimm Troupe’s Troupe Master Grimm
For those feeling brave or desperate for power, becoming 'Overcharmed' is also an option. This high-risk, high-reward method allows equipping one additional Charm over the limit at the cost of doubling all incoming damage.
Rewarding Patience and Precision
One combination that highlights resilience and strategic play is the Hiveblood and Joni's Blessing combo. Hiveblood restores the last unit of lost health over 10 seconds if no damage is sustained during this period. Its synergy with Joni's Blessing, which turns all Masks into Lifeblood Masks and increases the number of Masks by 40 percent, ensures the Knight remains well-endowed with health. Although Lifeblood Masks are usually irreplaceable, Hiveblood can regenerate these Masks, albeit at a slower rate of 20 seconds per mask.
This setup is extremely beneficial in areas like the Path of Pain, where healing opportunities are scarce. Another patience-testing but rewarding combination includes Grubsong, Quick Focus, Thorns of Agony, and Spore Shroom. This blend enhances survivability by ensuring the Knight gets 15 Soul per damage taken (Grubsong), focuses Soul 33 percent faster (Quick Focus), retaliates with damage when hit (Thorns of Agony), and releases damaging spores while healing (Spore Shroom). If you find yourself often trading blows rather than avoiding them altogether, this might be the reliable combination you need.
Balancing Offense with Defense
On the offensive front, few combinations match the pure damage output of Quick Slash, Unbreakable Strength, Shaman Stone, and Sharp Shadow. This minimalist approach buffs attack speed by 39 percent and increases Nail damage by 50 percent, ensuring the Knight becomes a formidable force in close combat. Shaman Stone bolsters spell damage, while Sharp Shadow adds a dash of offensive capability to evasion, making your every action count against tough foes.
Conversely, some combos emphasize balanced gameplay, combining strong defense with rapid healing. Quick Focus, Shape of Unn, and Baldur Shell is one such combination. Quick Focus speeds up healing, Shape of Unn allows the Knight to move while healing, and Baldur Shell offers a protective barrier during this vulnerable process. This synergy ensures the Knight can swiftly recover health while staying mobile and protected, crucial during relentless boss fights where finding safe moments to heal is challenging.
The Synergies of Nail Arts and Spells
Gamers who enjoy a mix of melee and magic might find Nailmaster's Glory, combined with spell-centric Charms, highly effective. Nailmaster's Glory shortens the charge time of powerful Nail Arts, allowing the Knight to unleash devastating attacks swiftly. Pairing it with Soul Catcher and Soul Eater increases Soul generation per Nail hit, and Spell Twister reduces the Soul cost of Spells, creating a versatile playstyle that doesn't heavily compromise on either melee or magical attacks. Experienced players often turn to combinations that focus entirely on spell damage.
Utilizing Soul Catcher, Soul Eater, and Shaman Stone can transform the Knight into an undeniable magical powerhouse. Soul Catcher and Soul Eater optimize Soul gain per attack, while Shaman Stone ensures spells hit harder and have increased projectile sizes.
Becoming an Aggressive Summoner
For players who prefer delegating damage to summoned creatures, the Weaversong and Grubsong combo is a must. Spawning Weaverlings that attack automatically while supplying the Knight with constant Soul, this setup ensures the Knight can focus on evading damage and retaliating strategically. Adding Sprintmaster increases the agility of both the Knight and their Weaver companions, making it easier to dodge attacks while the Weaverlings scurry about dealing damage. Similarly effective, if not more mobile, is the combination of Grimmchild, Sprintmaster, and Dashmaster.
Grimmchild evolves through quests and fires projectiles that deal significant damage, operating independently of the Knight’s actions. Combining this with Sprintmaster for increased speed and Dashmaster for reduced dash cooldowns turns the Knight into a nimble, hard-to-hit damage dealer backed by a powerful ranged autoteacher.
Speed and Exploration Enhancements
The game's expansive map rewards speed and efficient exploration, so utilizing Charms to maximize mobility is highly beneficial. Sprintmaster, Gathering Swarm, and Dashmaster create a formidable combination for players focused on covering ground swiftly and collecting Geo. Sprintmaster increases running speed, Gathering Swarm ensures no Geo is left behind, and Dashmaster reduces the dash cooldown, adding a downward dash that can be handy in certain play situations.
Finally, an interesting niche combo involves Shape of Unn, Spore Shroom, and Defender’s Crest, which releases harmful spores while healing and surrounds the Knight with toxic clouds. These synergies are perfect for creating hazardous areas that hinder and damage foes, allowing the Knight breathing room to plan or heal as their enemies suffer continuous damage.
Harnessing the right charm combinations can profoundly impact your Hollow Knight adventure, transforming difficult battles and treacherous explorations into engaging challenges. Whether your style is aggressive, defensive, or somewhere in-between, optimizing your Charms will lead to a deeper, more personalized experience in Hallownest. Each combination offers unique advantages, ensuring that every step, slash, and spell feels tailored to your journey.


